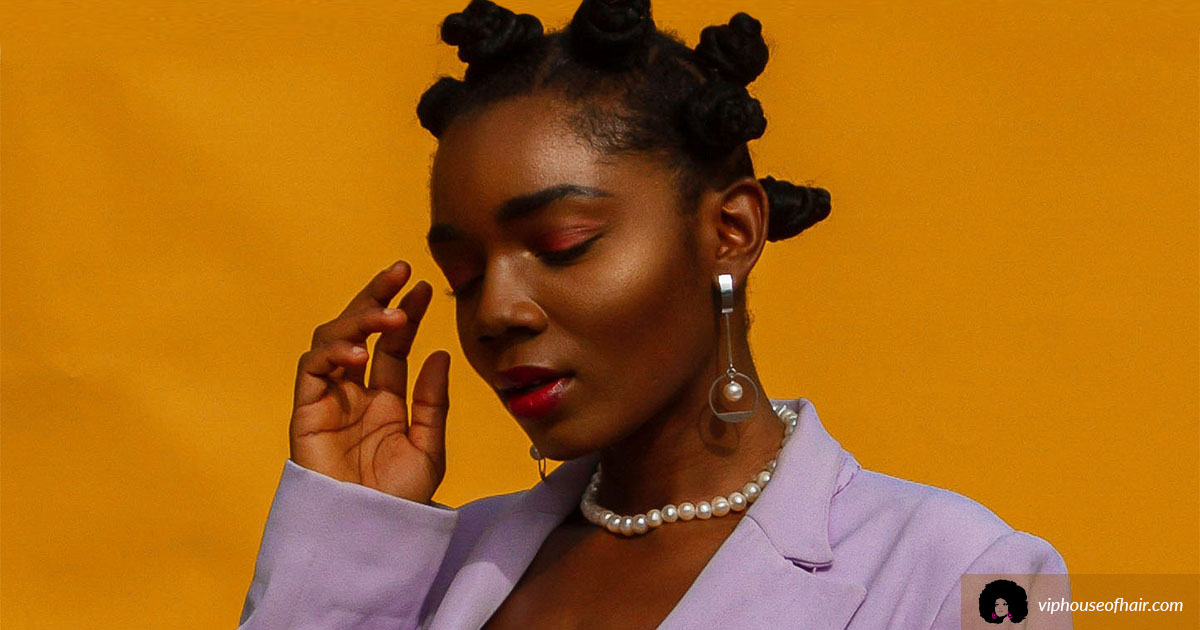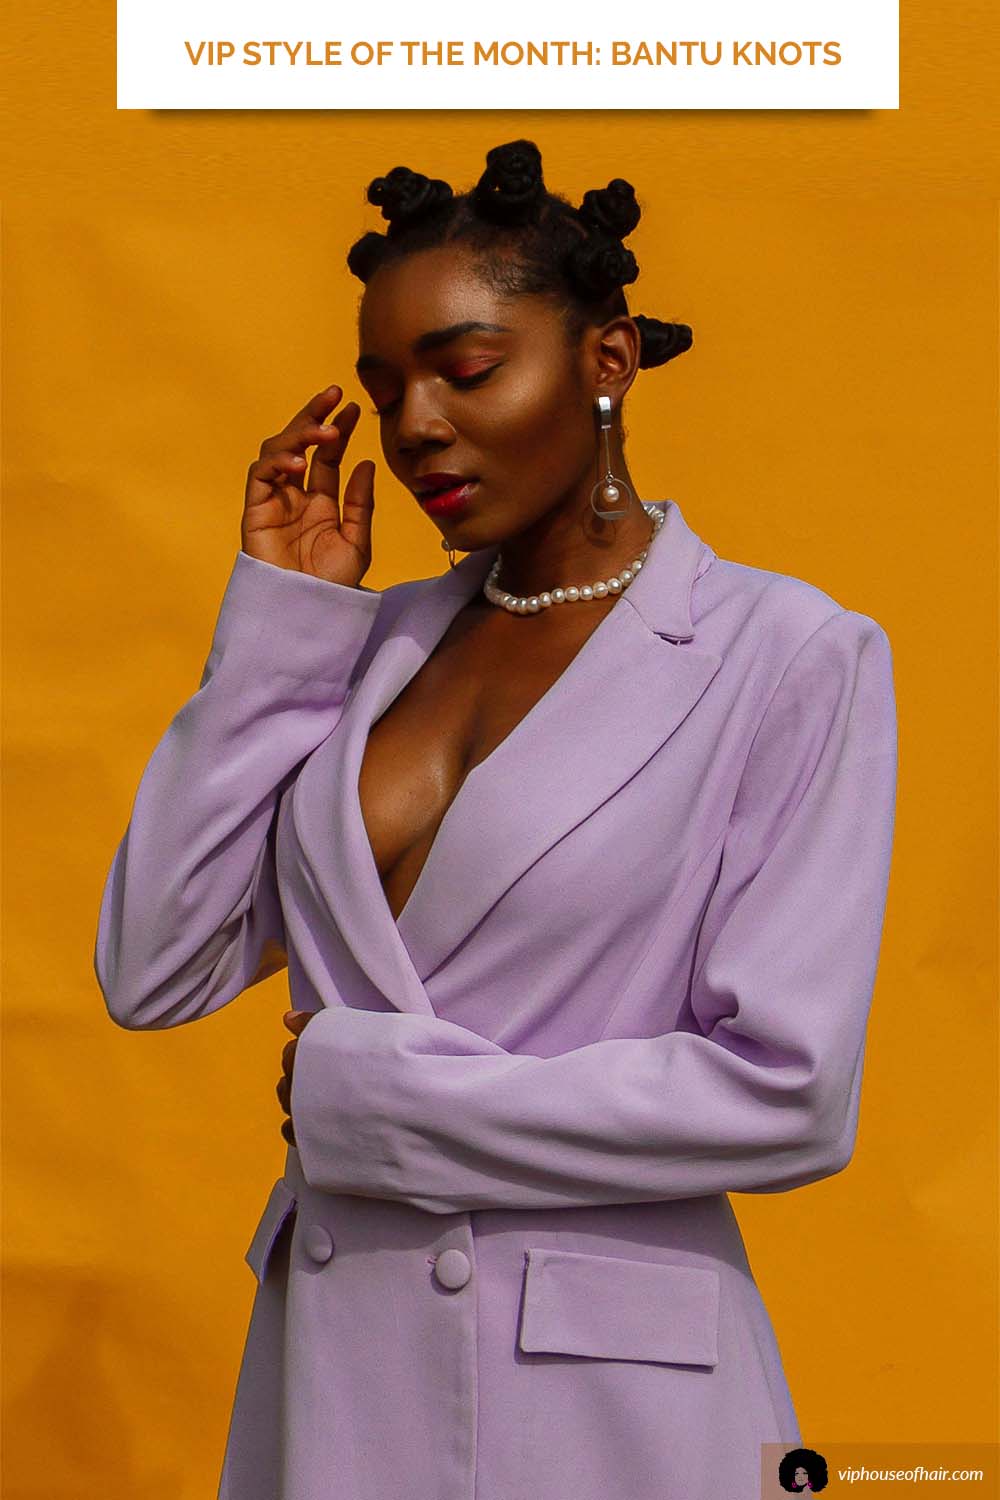
Bantu knots are a protective hairstyle that has been worn by African women for many years. Albeit the name includes knots, they don’t exactly look like that. Instead, they are small, coiled buns achieved by twisting strands of hair together. Then, the twisted strands are secured by making a knot.
They are also referred to as ‘du Doubs’ or ‘Zulu Knots’. This is a great protective hairstyle for natural hair. Bantu knots also provide wonderful heatless knots when they are left overnight and uncoiled the next day.
How To Create Bantu Knots
If you looking to create this style, we have a few instructions for you. As with any hairstyle, you’ll want to first gather your products and supplies. Without the necessary supplies, you may not be able to achieve the final result that you want.
With this in mind, you’ll need the following VIP supplies to create these types of knots:
- Conditioner (VIP African Pride leave-in conditioner)
- Styling Gel (Ampro or Softee)
- Bobby Pins (optional)
- Edge Control (VIP’s Creme of Nature or Instant Control)
- Rat Tail Comb
- Denman Brush
- Spray Bottle with Water
- Soft Bristle Brush
- Extensions (optional- VIP $1 braiding hair or crochet hair)
- Rubber Bands
- Blow Dryer (optional)
- Wide-Tooth Comb
Next, follow the below steps to begin the bantu knots process:
 Thoroughly Wash, Condition and Detangle Hair
Since much of the scalp will be exposed, make sure to get that particularly clean. After all, you don’t want product build-up to cause scratching and ruin your style. Using a leave-in conditioner will help protect your tresses. It will also keep flyaways in check while you detangle your hair to prep for styling.
 Part Damp Hair Into Sections
Creating precise parts is a crucial aspect of having great Bantu knots. Using the end of a rattail comb, divide hair into sections. Of course, the length of your hair dictates the size of the sections and style you want. For shorter hair, 1/2 inch wide or smaller sections look good. If you’re going for shorter locks with long hair, part up to 3 or 4 inches across.
 Screw Hair Into A Taut Rope
You’ll need to use gel, setting lotion or pomade for control. Some people prefer to two-strand twist first. However, this simpler method saves time and works just as well. Work the product into the hair one section at a time. Start at the root and twist each section between your fingers as if you’re turning a doorknob. Work your way down the hair hair shaft, keeping tension fairly high. Continue the process until you’re holding the very end of the section away from your head, like a rope.
 Secure The Hair In Place
Now, we need to coil the twisted length around itself and secure in place. This is the trickiest part of the procedure, but easy. Still working one section at a time, give the rope you just created a few extra turns. The hair should start to coil into itself like a spring. After a few turns, you’ll have a nice base coil to wrap the rest of the twisted hair around. Do so, and make sure to wrap each layer closer to your head than the previous one. And the ends of the hair should be closest to your scalp. On longer hair, this will create a sort of pyramid or funnel shape. But shorter hair locks will have a rosebud or baguette look to the knots.
 Repeat Steps 5 and 6 On Each Section
For this final step, go back to steps 5 and 6 and repeat each section until all of the hair is knotted. This is a wet set hairstyle. As such, you can mist hair with water if it starts to dry during the process.
If you don’t feel that you can do these knots justice yourself, our stylists can! Just request an appointment and we’ll help you select suitable products, as well as creating gorgeous knots. You can also stop by our beauty supply store in Lancaster for products and make an appointment in person.
You may also enjoy reading: Black History Through The ‘Fro


