
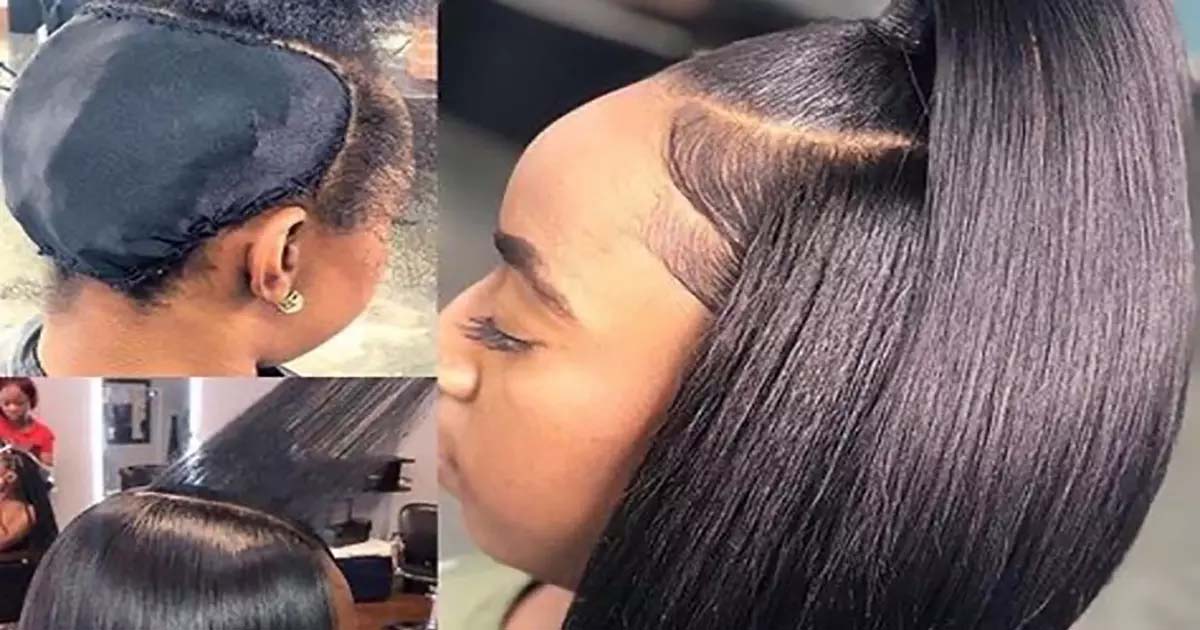
A quick weave is a protective style where extensions are glued to a wig cap before bonding it to your head. It’s a great protective style if you’re looking for something quick you can do at home.
Because the entire style is attached to a foundation, it can easily be removed from the head. In other words, it offers easy installation and maintenance. Moreover, you can create various looks using different types of extensions.
In addition to be an alternative to the traditional sew-in, this weave provides a faster process. As a result, the weaving technique can be completed within 1.5 hours. Generally speaking, the process time is quicker than the sew-in method.
Steps To Install A Quick Weave Protective Style
Some believe that quick weaves are harmful to your hair. As with any hairstyle or technique, if not properly installed it can cause damage to your hair. Otherwise, a quick weave is a fairly convenient protective style when it comes to installation, maintenance, and removal.
If you’re doing it yourself, you should be familiar with the steps of a quick weave protective style. But the same holds true even if you’re going to a Pro. And this will help you to better understand the process.
Below, we’ve listed the steps to install a quick weave protective style so you know what to expect.
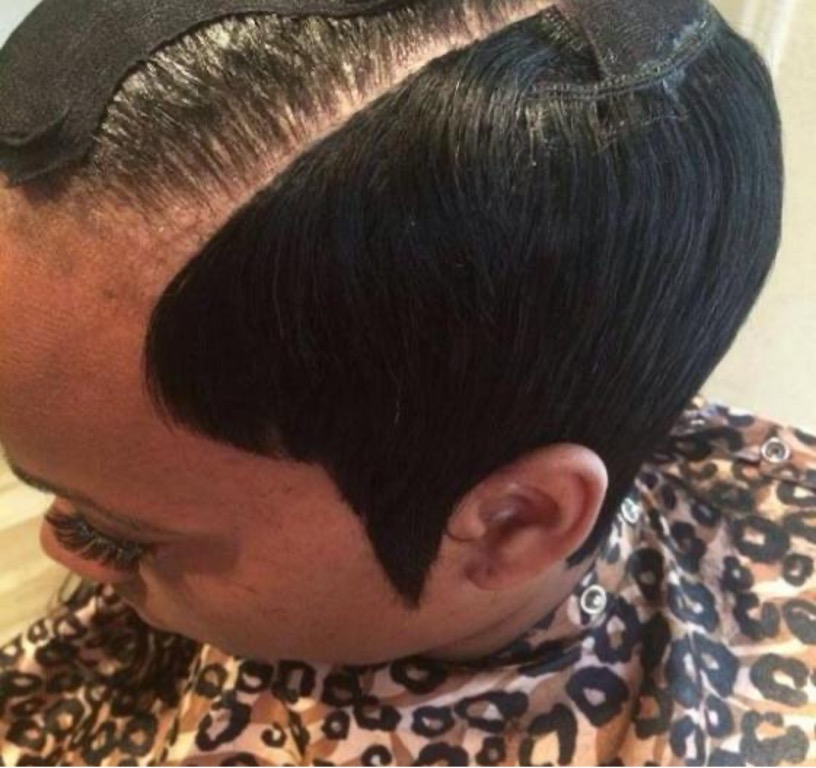
- Prep your natural hair. Before you start, braid your hair or use molding gel to keep it under the wig cap. Leave in a side or center part if you want to show that off through the weave.
- Cover your hair with a protective wig cap. After prepping your hair, secure it with a wig cap to keep it safe from the glue. Use two wig caps if you’d like some extra security. Applying glue protector adds a liquid cap to your hair. This ensures that any rogue glue attaches to the cap and not your hair. You can also apply the glue protector to your wig cap.
- Mark your leave out. If you created a part in your hair, mark that area on your wig. This ensures you don’t add hair extensions too close to it.
- Dry your hair. Blow dry or air dry your hair if you used molding gel or glue protector on your hair or cap. Everything should be completely dry before installing your quick weave.
- Glue on the hair extensions. Next, glue the hair extensions to the wig cap. First, measure the hair extensions around your head to see where you’ll need to cut them. First, measure the hair extensions around your head to see where you’ll need to cut them. Then, start applying them from the back of your head and work your way in. Allow each section to dry before applying a new track. Once you get close to your leave out, cut that part of the wig cap to let it out.
- Comb and style your hair. Now that everything is in place, you’re ready to style, cut, and comb through your hair to get your look.
For more information on our weave styles, swing by, message us @viphouseofhair on social media or give us a call. You can also request an appointment online.


